Citadel of Wolves
The next set of Band of Blades campaign Mission Sheets. These are for the sixth phase of our campaign. The Legion has reached the Barrak Mines and St. Oysingra. Additional notes on meta-game events affecting play and rulings included.
General information and a full archive of previously posted sheets can be found on this page.
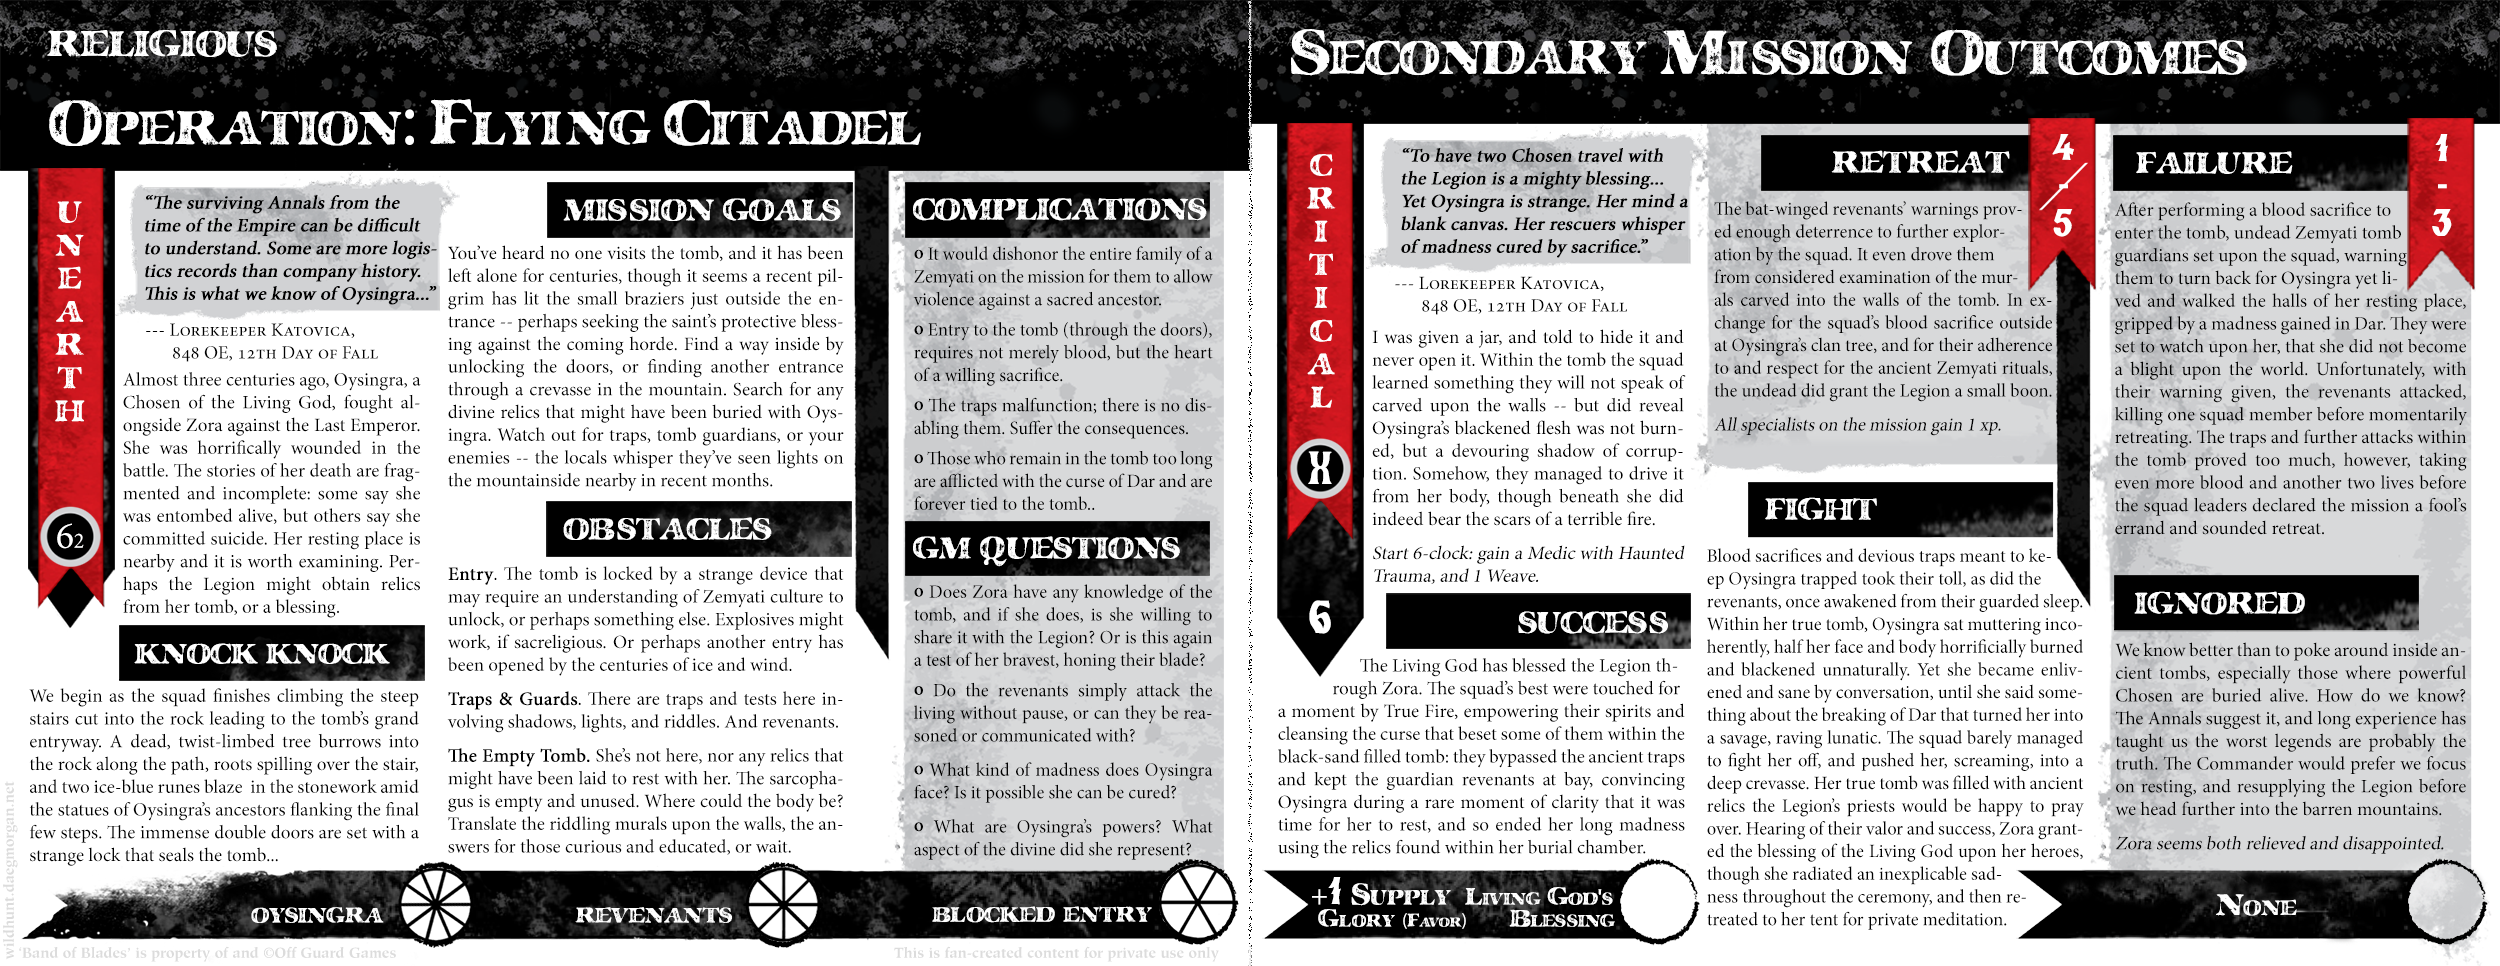
During the sixth phase, the Legion has reached the Barrak Mines and is negotiating to gain more supplies of blackshot, as well as visiting a holy site. I rolled only two missions for this phase, so there would be no need for the Legion to ignore a mission. The Commander spent Intel to replace one of the rolled missions with a Special mission (to investigate Oysingra’s tomb) — we had discussed the plan ahead of time, during the prior session and between games, so I knew what was happening and wrote a sheet for it. Note: I rolled up a normal mission to cover the one they would be replacing, but knew far enough ahead of time they were going to ignore it that I didn’t bother writing a sheet for that one.
However, the ignored mission did play into the fiction here: the Legion’s supply train had become lost in the blizzard blowing down on the pass, but (with the mission replaced) we decided the supply train managed to find its way just before the Commander sent out a squad to look for them.
This is also when the Legion alchemist finally finished the first part of their special project, managing to create some Fire Oil using alchemy and Zora’s (stolen) blood, which the Quartermaster then slipped to the squad heading up to Oysingra’s Tomb (just in case). It turned out to be a core part of what happened on the mission.

Unfortunately, I had not yet read the Alexandrian’s set of posts on The Three Clue Rule, which would have helped me immensely in prepping for this kind of mission. As would have experience with more puzzle/exploration-oriented scenarios in BitD-style play environments.
This sheet, in my opinion, is flawed as a resource for this mission, and I would significantly re-write it before using it again. I present it here only because it is the one I used (and perhaps someone else can use it to better effect than I was able).
Another problem was also the time constraint of the evening, as we had decided early on that we would not allow missions to be split over sessions, and would always finish them in one go (though I eventually came to believe this choice was a mistake). Often, we would tie up the end of the mission with one or two group rolls to determine some final aspect of the mission (such as the results of any pursuit during the ride back to Plainsworth after the Ettenmark mission), rather than as a series of other encounters or nested rolls.
Despite all this, it did provide significant narrative fodder for the campaign, with various discoveries in the tomb (including things said by the quite-insane Oysingra) leading to some in the Legion beginning to quietly question and distrust Zora’s motivations and righteousness.